Our Oak Hill store just became a dealer of the Big Green Egg this year, and let me tell you, we have never had so much fun cooking! After setting up and using our store's large BGE that we'll use for events and demos, our store manager (and my husband) Tyler was so excited about it he took it to the next level and got a Mini Max for our house. There's a bit of a learning curve but we found this amazing Facebook group and watched a lot of YouTube videos and let me tell you - there is no turning back now. We've been cooking 3-4 times a week on the BGE since we got it, everything from seafood to pulled pork to pizza to cornbread to steak and more. We eat almost every meal at home and, for the last 10 years or so, I'd say I did about 95% of the cooking. Not because Tyler can't do it, but is doesn't really interest him and I, for the most part, enjoy it.. With his newfound love for outdoor cooking in this ceramic beauty, Tyler has taken on at least half of the weekly meals. This is a fringe benefit I wasn't expecting when he brought the Mini Max home! Something to think about if you're considering buying one for your household :)

For those who are already familiar with the Big Green Egg, see the recipe below and let us know how your chili turns out! For those who have yet to take the leap, see if this entices you to add one of these versatile outdoor cooker to your patio. Check back on the blog for more recipes as we continue to experiment, learn and perfect all things BGE!
Over the Top Chili
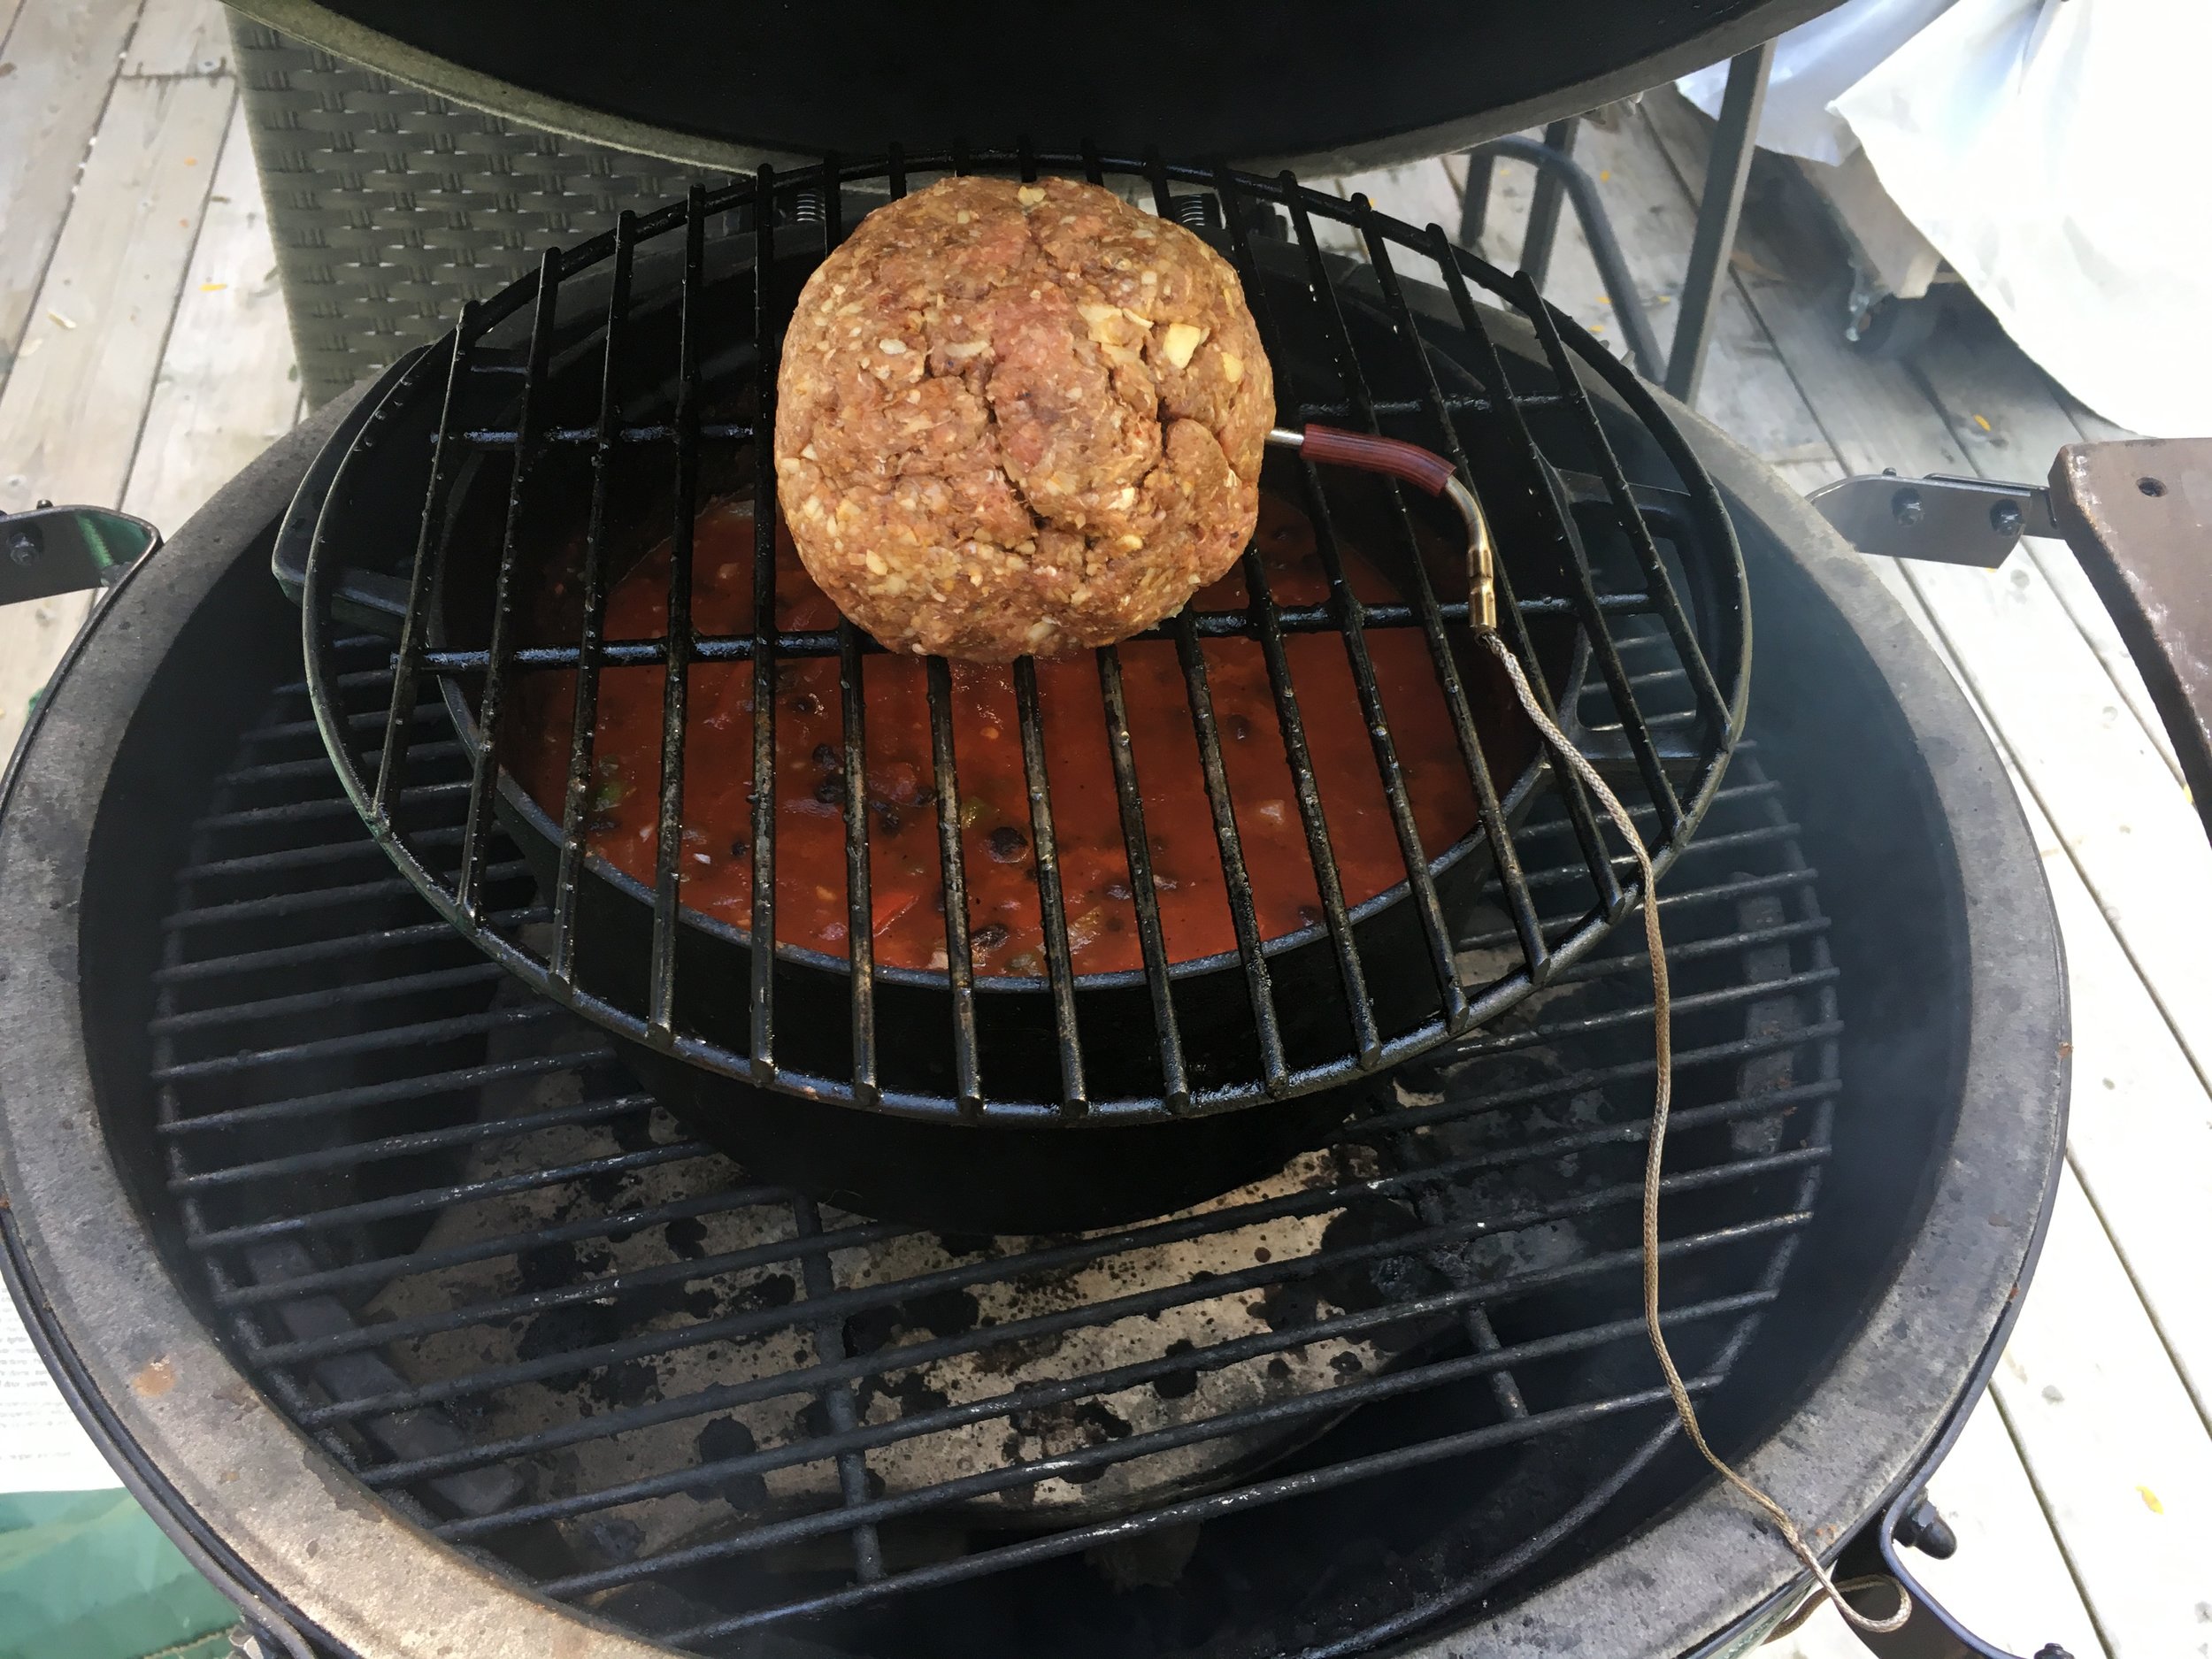
The general idea of this chili is to smoke the ground beef above the chili pot, letting those juicy drippings fall into the pot of beans, tomatoes, peppers and spices before breaking it apart and adding it in. This gives the beef a beautiful, smokey flavor that really adds to this dish.
Ready to start!
For the chili:
1 white onion, diced
2 jalapenos, diced
1 tsp salt
1 tsp white pepper
3 cloves garlic
1 tbsp olive oil
1 pepper - green or red
2 cans (15 oz each) of black beans
6 cups of strained crushed tomatoes
Put all chili ingredients in pot. Put platesetter in BGE legs up and put grate on top. Put the pot on the regular grate, and then put a smaller grate on top of the pot. This is where the meat ball is going to sit (see below).
For the meat:
1 1/2 lbs of ground beef (we used 85/15)
1 tsp chili powder
1 tsp cumin
1 tsp onion flakes
1 tsp garlic powder
1 clove of garlic
salt and pepper
Mix by hand and form into a ball. Put the ball on top of small grate over chili pot. Cook at 275 degrees until medium or 140 internal temp. When meat is done, break up into chili and mix. Serve with cheddar cheese and sour cream, optional.

After about an hour of smoking.
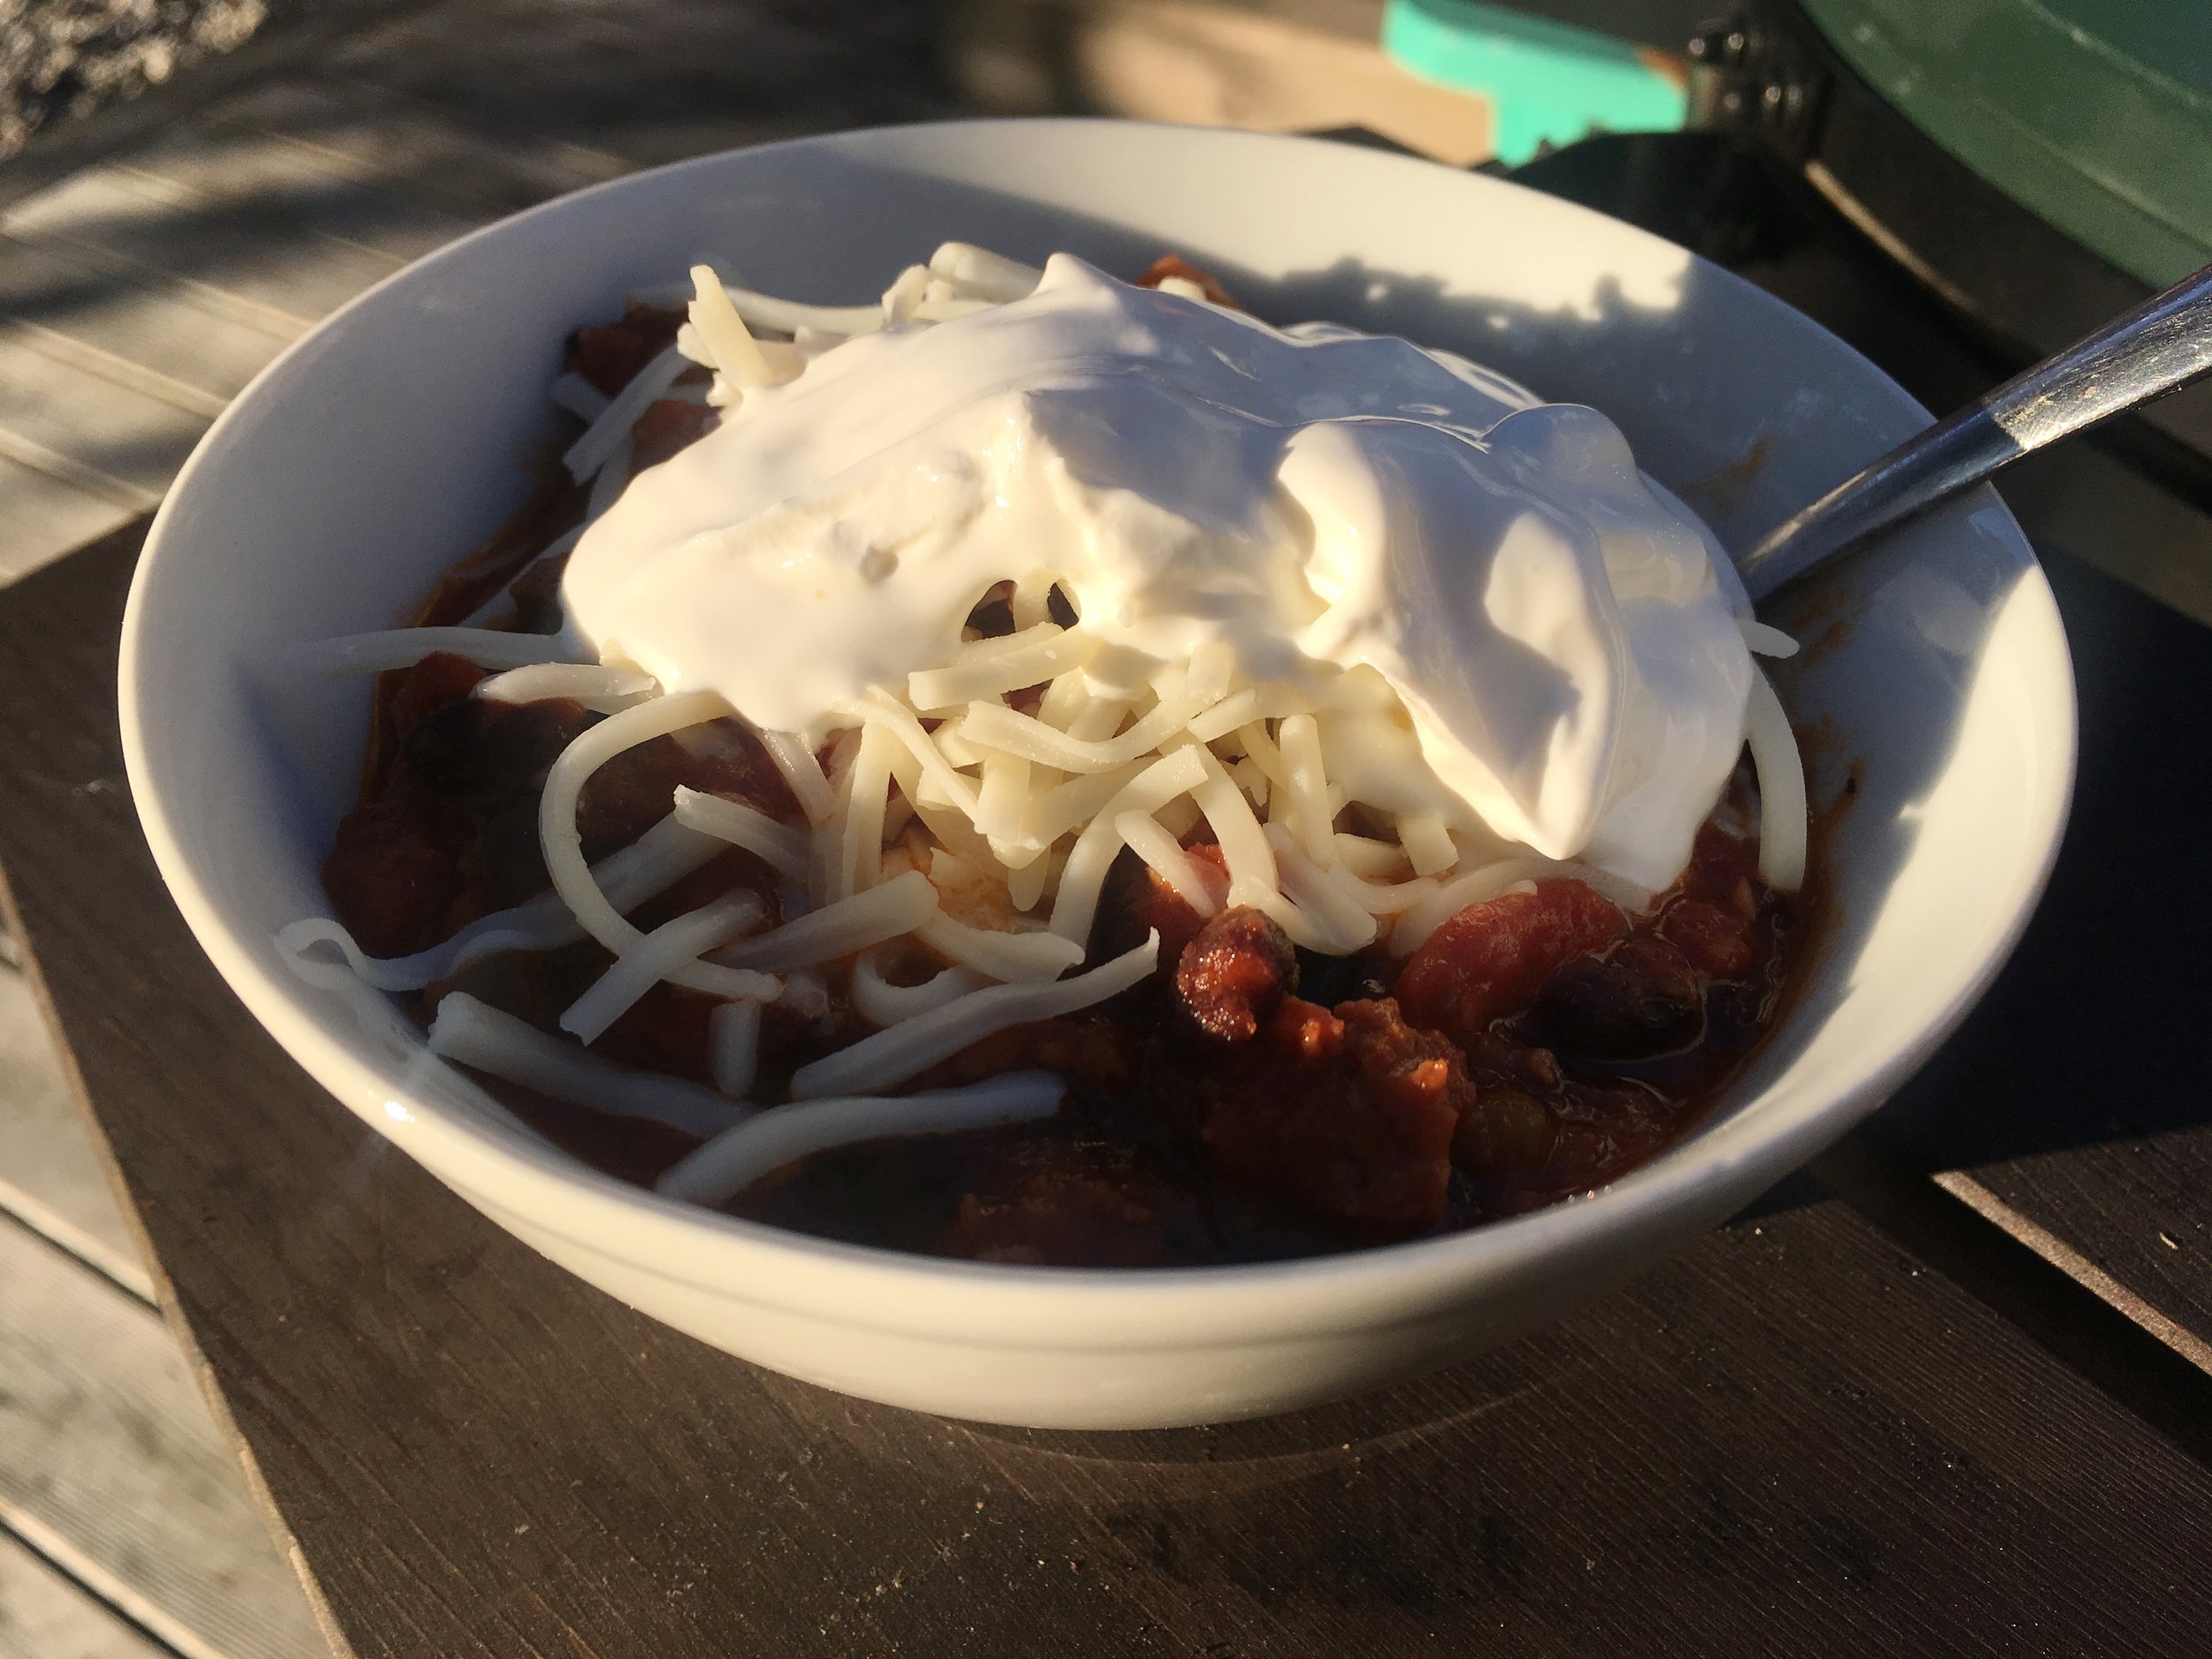
Topped with cheddar and sour cream.
A couple of notes:
- We use the Weber iGrill digital thermometer (check out iGrill 2 and 3 as well) to track the internal temperature on the BGE. This thermometer connects to your phone via Bluetooth. You can set the desired internal temp and it will alert you when you're getting close and when the temp has been reached.
- We had use of a large BGE so we used that grate for the bottom to set the chili pot on, and we also have a Mini Max, so we used that grate to set over the pot and put the meat on. Any grate will do.
- We used a Martha Stewart dutch oven purchased at Macy's. It's great for this kind of cooking, in the oven, on the stove - for this and delicious homemade breads!
- Some people. via the Facebook group we're part of, have mentioned not liking the idea or flavor of the drippings going directly into the pot. You can always put a drip pan under the ball instead of the pot, and either cook the chili on another surface or wait and do it after the meat is done (or vice versa). We used an 85/15 beef mixture that didn't seem greasy or overpowering at all.
Any questions? Comment here or hit us up on Facebook or Instagram. We love sharing what we've learned! We're proud to bring the best brands to our customers and this is definitely one we can get behind. We offer delivery and assembly and even a little tutorial on how to use it when you purchase any size from our store. We want you to love it as much as we do!
- Rebecca